You can narrow down a misfire before paying for a replacement coil, but the right check depends on the ignition system in your vehicle. Learning how an ignition coil is tested starts with identifying its design and finding the manufacturer’s diagnostic procedure for your engine.
A scan tool, a meter, and a technician’s oscilloscope each answer different questions. Testing the ignition coil is most useful when the result is considered alongside its power supply, wiring, spark plug, and the condition of the cylinder.
Start With Your Vehicle’s Design
Find the model year, engine, and vehicle identification number, then locate the correct service information. Some engines have a separate coil on each spark plug; others share coils or use a combined assembly. Connectors and internal electronics vary, so the safe measurement points and available tests vary too. Delphi describes differences in coil designs.
A coil stores electrical energy and releases high voltage to fire a spark plug. Think of it as a small energy store that must be charged and switched at the right moment. If the supply or control signal is missing, even a healthy coil cannot do its job. If the plug or cylinder has another problem, replacing the coil may leave the misfire unchanged.
The service procedure identifies the connector terminals, test conditions, tools, and specifications that apply. It also tells you whether a resistance measurement is supported for that design. Do not choose a generic ohms range from an unrelated engine: some coils contain electronics that make simple terminal measurements misleading or inappropriate.
Test Ignition Coil Symptoms With a Scan Tool
Connect a suitable scanner and record stored and pending codes and freeze-frame data before clearing anything. Freeze-frame information captures conditions associated with a fault, such as engine speed and load. A cylinder-specific misfire code identifies where the engine detected a problem; it does not identify the failed part.
If your scanner shows misfire counts, observe which cylinder accumulates them and under what conditions, following the vehicle procedure. A fault that appears under acceleration may be absent at idle. Write down the conditions for the shop rather than repeatedly driving a badly misfiring vehicle to reproduce them. A flashing check-engine light calls for prompt attention; reduce load and consult the owner’s manual for what to do.
Scan data guides the next check. It can point you toward one cylinder or reveal a broader pattern, but it cannot see a cracked plug insulator or directly prove that a coil is weak. A professional can combine the data with inspection and electrical measurements before recommending parts.
Inspect Before Measuring
With the engine off and cooled as appropriate, look for damaged connectors, loose locks, corrosion, chafed wiring, cracks in the coil housing, and oil or moisture around the plug well. Follow the service instructions before disconnecting anything. Photograph the arrangement if that helps you restore connectors to their proper positions.
A damaged boot or a contaminated plug well can provide a path for high voltage to escape. A worn, fouled, cracked, or incorrectly gapped spark plug can also cause a misfire. Inspect the plug according to the manufacturer’s procedure, including the specified gap and replacement interval. NGK explains how plug condition and gap affect ignition.
These observations help choose how to test an ignition coil next. For example, visible harness damage deserves a circuit repair and recheck; an oil-filled well also calls for finding the source of the oil. Correct the identified fault, then see whether the symptom returns.
What a Meter Can and Cannot Tell You
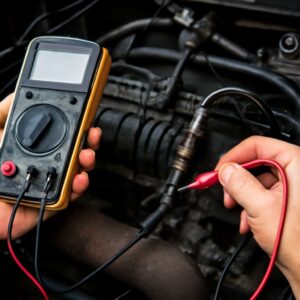
Where the service manual calls for it, a multimeter can check supply voltage, ground integrity, or continuity at specified points and conditions. Use the correct meter setting and probes, and follow the prescribed ignition state. A missing supply directs attention toward the relevant fuse, wiring, connector, or control circuit; it does not condemn the coil.
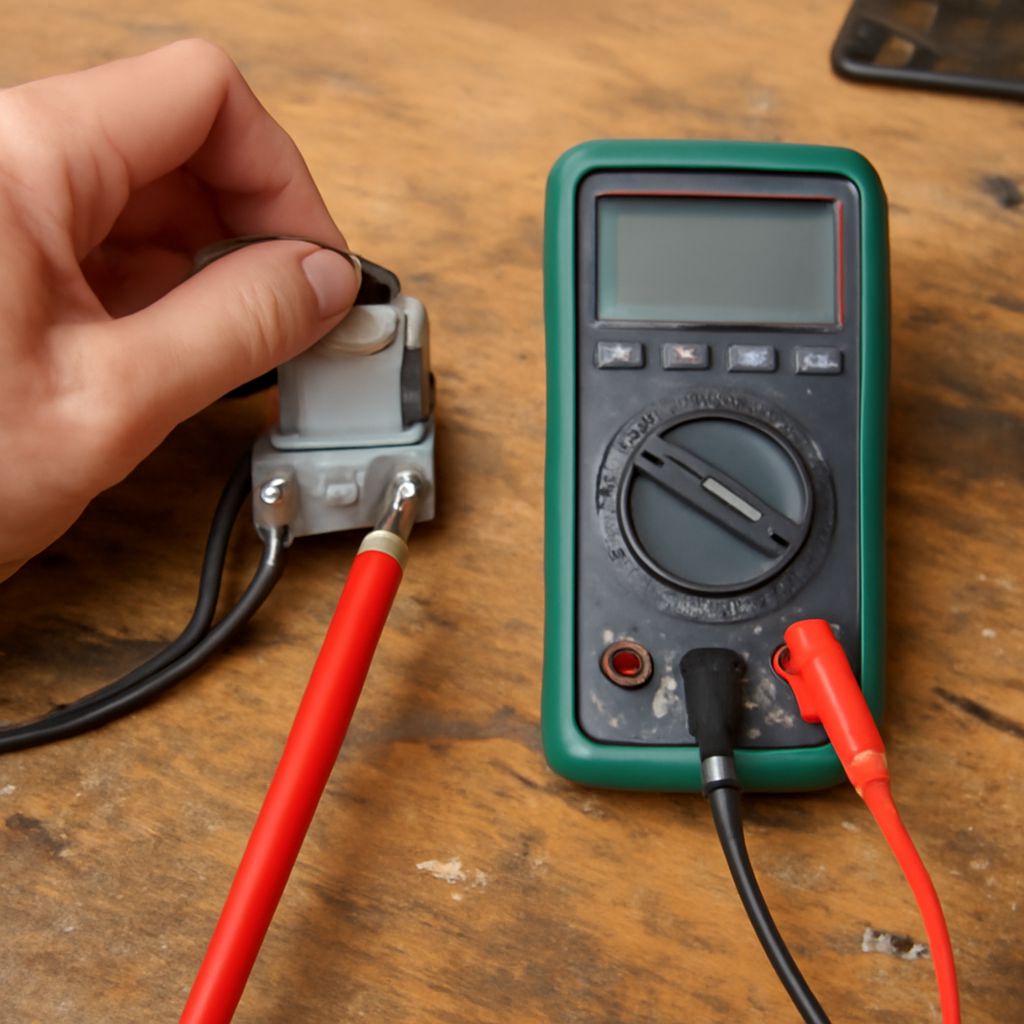
Some conventional coils have specified primary and secondary resistance checks. Perform an ignition coil test of that type only if the manufacturer provides the procedure and values for the unit. Disconnect and measure as directed; resistance measurements require the circuit conditions specified by the manual. An out-of-spec reading is evidence of a fault, while a reading within range is only a limited check at the time and temperature measured. A coil may fail intermittently when hot or under operating load despite an acceptable static reading. Checking the ignition coil under operating conditions can help reveal an intermittent fault.
Knowing how to test a ignition coil for your vehicle depends on its terminal layout and supported measurements. If the procedure requires skills or equipment you do not have, ask a shop to test the ignition coil and its electrical supply. Never probe an unidentified terminal or disconnect an energized component simply to see what happens.
When a Controlled Comparison Helps
On some engines with interchangeable individual coils, the service procedure may permit swapping the suspect coil with one from another cylinder. Record both positions, then recheck under the conditions that produced the misfire. If the misfire follows the coil to the other cylinder, the coil becomes a stronger suspect. If it stays at the original cylinder, investigate that cylinder’s plug, wiring, fuel delivery, and mechanical condition. An intermittent fault can make either result inconclusive.
A technician may use an oscilloscope and appropriate probes to examine primary or secondary ignition patterns while the engine operates. These signals provide more detail about timing and electrical behavior than a static meter reading. They still require interpretation alongside plug condition and the vehicle’s specifications; an unusual waveform is a clue to investigate, not an automatic parts order.
High ignition voltage can cause injury and damage equipment. Use only the manufacturer’s specified equipment and procedures, and leave energized testing to a qualified technician. Avoid testing by creating an exposed spark.
What to Do Next
Find the service information for your exact engine and write down any codes and the conditions when the symptom occurs. Take that record to a qualified shop, or use the specified procedure to select the checks you can safely perform. Ask what each result showed before approving a replacement.