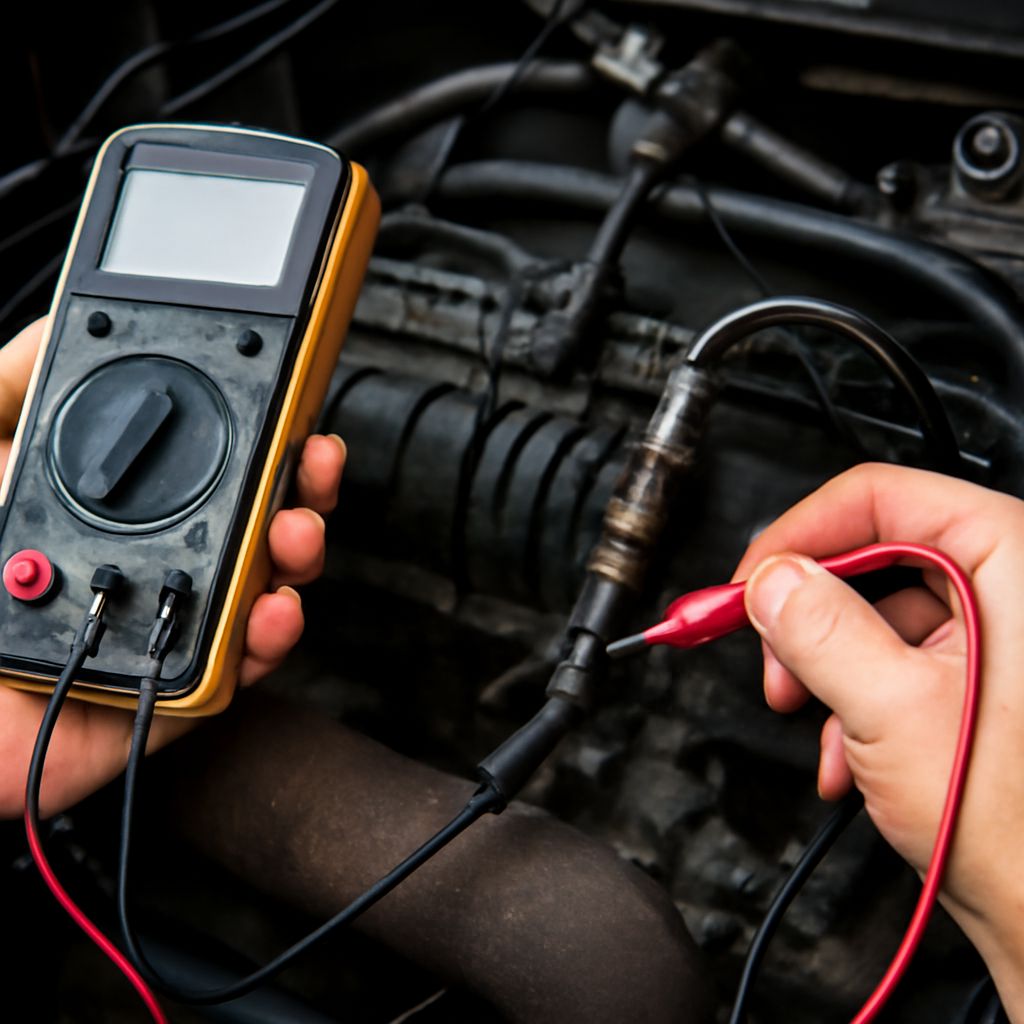
The right check depends on the sensor’s design and its place in your vehicle’s exhaust system. How an O2 sensor should be tested differs between a conventional switching sensor and a wideband air-fuel sensor, and between a sensor before the catalytic converter and one after it. Start with the vehicle’s service information and the exact fault being investigated.
A warning light or a code can point the technician toward a circuit or an unexpected mixture. It does not, by itself, prove that the sensor has failed. The aim is to find out whether the sensor is reporting the exhaust accurately and whether its electrical circuit is working as intended.
Identify the sensor before choosing a check
An oxygen sensor reports information related to oxygen in the exhaust. The engine computer uses that information alongside other inputs. Think of it as a reporter at the end of a process: an alarming report may be accurate even when the trouble began somewhere else.
An upstream sensor sits before the catalytic converter and commonly helps the computer control the air-fuel mixture. A downstream sensor sits after the converter and is often used to monitor catalyst operation. Their expected behavior and diagnostic roles differ. Bosch’s sensor guide describes this control-sensor and diagnostic-sensor arrangement.
Before deciding how to check an O2 sensor, identify its bank and position; the fault code may provide both. Use the manufacturer’s diagram to map that label to the actual location on your engine, particularly when the exhaust has more than one bank or converter. DENSO’s guide explains the role of the number-one cylinder in locating bank one. Confirm the layout for your specific vehicle rather than ordering the first sensor you can see.
Test O2 sensor data in context
A technician generally starts with the stored codes, freeze-frame information and live scan data. Freeze-frame data captures conditions associated with a fault, such as engine temperature, speed and load. Tell the shop when the light appeared, whether the engine was cold or warm, and whether you noticed rough running, poor fuel economy or an exhaust smell.
The code description helps select a diagnostic path. A heater-circuit code suggests a different investigation from a mixture-related code or a slow-response code. Clearing a code before recording it can discard a useful clue; ask the shop to document it and the associated conditions first.
An O2 sensor test may include examining the sensor’s response together with fuel trims and other engine data under conditions specified by the manufacturer. Fuel trims show how the computer is adjusting fuel delivery. A large adjustment can help point toward an underlying mixture problem, but it is not a direct measurement of a defective sensor.
Narrowband and wideband are different instruments
A conventional narrowband sensor changes its signal around the intended mixture point. In the appropriate operating mode, a technician may look at how its signal responds as the mixture changes. A wideband or air-fuel-ratio sensor uses a different measurement and control method and can report over a broader mixture range. Its data may be presented as current, voltage or a calculated value depending on the vehicle and scan tool.
For that reason, instructions for a switching sensor should not be applied automatically to a wideband sensor. NGK’s technical catalog describes the different operating principles and specifies compatible diagnostic equipment for air-fuel-ratio sensor checks. The vehicle’s service procedure supplies the relevant parameter, conditions and limits for your particular system.
When deciding how to test an O2 sensor, ask the technician to identify its type and the data the vehicle actually provides. A graph that looks unfamiliar on one system may be normal for another; the meaningful comparison is with the specified response under the specified conditions.
Heater and wiring checks
Many sensors have an internal heater so they can reach operating temperature sooner. A heater fault can involve the element, its power supply, control circuit, wiring or connector. Heater activation may depend on operating conditions, so a reading taken at the wrong time can mislead. Bosch’s diagnostic material notes that activation conditions and temperature matter when interpreting heater checks.
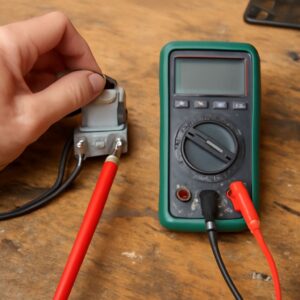
Oxygen sensor testing can therefore include an inspection for damaged or heat-exposed wiring and corroded connectors, followed by electrical checks specified for the vehicle. The technician uses the correct wiring diagram, terminal identification, instrument and test conditions. There is no single resistance or voltage that applies to every heater or sensor.
Exhaust parts can be hot, and incorrect probing can damage wiring or electronics. Leave these measurements to someone with the proper service information and equipment. Ask whether the circuit was checked before a sensor was condemned and whether any wiring repair is included in the estimate.
Rule out a truthful signal about another fault
Testing an O2 sensor means considering what reaches it as well as what comes out of it. An exhaust leak can affect the gas sample; an intake leak, fuel-delivery problem or misfire can change the mixture the sensor sees. A contaminated or damaged sensor can also be a consequence of another engine problem. The shop should connect its findings to the particular code and symptoms.
DENSO documents a Toyota case in which lean codes returned after air-fuel sensors were replaced; the cause was a cracked intake-related hose. The example illustrates why replacement alone is not a diagnosis, not a claim that every lean code has that cause.
O2 sensor testing may require checking for those related faults before replacing a part. If the signal and circuit pass but the mixture is genuinely wrong, repairing the cause is the productive next step. If the sensor fails the manufacturer’s checks, ask for the correct replacement for the position and vehicle emissions configuration.
What to ask before authorizing work
Request the code, the identified bank and position, the tests performed and the results. Ask whether the proposed repair addresses the cause as well as any damaged component. Afterward, the shop can verify the repair using the manufacturer’s procedure and an appropriate drive cycle when needed.
To test the oxygen sensor on your vehicle, which sensor type and position are involved, and which service-manual check will distinguish its failure from a wiring, exhaust or mixture problem?