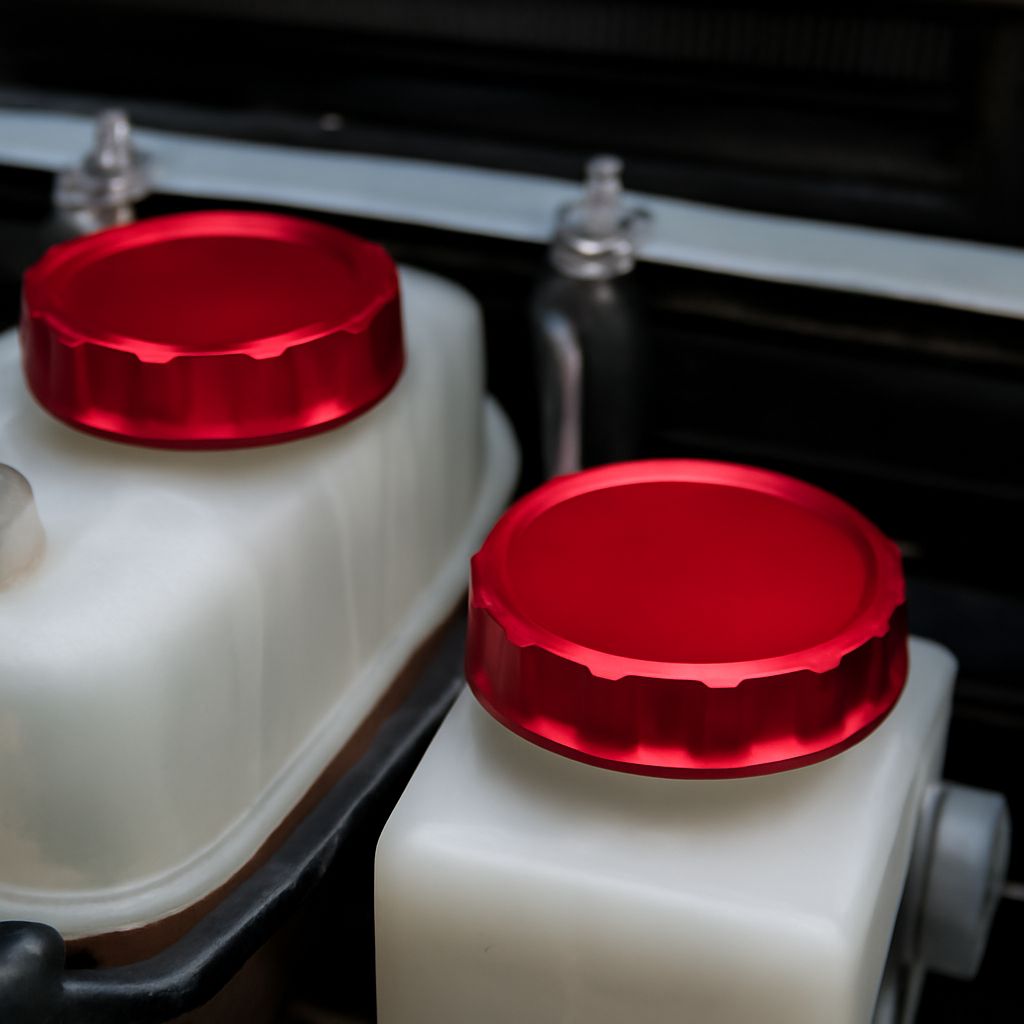
The right cover depends on the exact car and on what the part is supposed to cover. A dress-up kit for an engine might replace a factory cover, sit on top of it, or add trim to reservoir caps; each needs different attachment points and room. Start with your vehicle’s year, engine, and existing equipment before choosing a look for a customized engine bay.
A clean installation should also leave room for heat, moving parts, and the hands that will service the car. Think of a cover as a piece of furniture in a busy room: it needs to fit the space without blocking the doors.
Custom engine bay planning starts with identification
Find the model year, model, trim, and engine in your registration documents and owner’s information. Check the vehicle identification number with a dealer if the engine or factory options are uncertain. Then compare those details with the manufacturer’s fitment list and part number, including exclusions for specific trims, model-year changes, or equipment.
A custom-built engine bay may need a different solution from a factory layout. Photograph the area before ordering. An aftermarket intake, strut brace, supercharger, or relocated reservoir can occupy space the kit designer expected to be empty. Ask the seller whether the exact combination has been tested, and request installation instructions before paying. If the answer is vague, choose a part with confirmed fitment or an easy return policy.
For example, Ford Performance’s instructions identify a specific cap-cover set for 2015–2017 Mustang GT and GT350/GT350R models. Those pieces push over existing caps; Ford also supplies optional double-sided tape. That is a useful reminder that a shiny cap cover and the functional cap beneath it are separate parts. The instructions for your own part determine how it attaches.
Compare mounting before materials
Engine dress-up kits vary in the parts they include. An engine dress up kit may use factory studs, clips, brackets, adhesive, or replacement fasteners. Look at the instructions and the hardware list together: a picture of a finished engine cannot show whether the kit needs drilling, a bracket under an existing bolt, or removal of a factory part.
A clip-on cover can be convenient when it must come off for maintenance. A bolted panel may feel more secure but take longer to remove. Adhesive trim can be simple to install, yet surface preparation and the specified adhesive matter. Check whether replacement clips or tape are available, and keep any removed original hardware labeled in a bag.
Make sure the attachment point can support the part as directed. Do not trap a hose or wiring loom under a bracket, overtighten a fastener, or use a longer bolt simply because it reaches. If a factory fastener must be removed, use the applicable vehicle service procedure and specified torque. A missing bracket or an instruction to force the panel into position is a reason to stop and resolve the fit before driving.
Leave room for heat and movement
A stationary engine compartment still has moving occupants: belts, pulleys, fans, hoses, and the engine itself as it moves on its mounts. A panel that clears a hose with the engine off may rub when the assembly shifts. Check the manufacturer’s required clearances and mounting locations, including clearance to the underside of the closed hood. If the instructions do not address an obvious conflict, ask the manufacturer before installation.
A personalized engine bay still has to handle heat from several directions. Exhaust manifolds and turbocharger hardware can be much hotter than surrounding components. A material described as metal, plastic, or carbon fiber does not automatically have a suitable finish, adhesive, or temperature rating for every location. Ask for the allowed operating conditions for the complete part and its mounting method, and compare them with the specified location. Keep factory heat shields in place unless the vehicle and accessory instructions explicitly provide for their removal.
Avoid covering vents, radiator airflow paths, or openings that the vehicle manufacturer requires. Do not improvise a heat shield from a decorative panel. If heat protection is needed, use a solution specified for the location and installed according to its instructions.
Plan for the next oil check
Custom engine covers can make an engine compartment look orderly, but routine checks still need to be practical. Before fastening anything, locate the oil fill, dipstick if equipped, coolant reservoir, brake fluid reservoir, washer fluid fill, and fuse box. Can you read the markings, open the caps, and remove the fuse-box lid without bending the new panel? Can a technician reach the fasteners needed for scheduled work?
Some custom-fitted engine covers must be removed for an oil change or other service. That can be acceptable if removal is straightforward and the instructions explain it. Count the fasteners, identify the tool needed, and consider where the panel can be placed without scratching it. If a cover hides a fluid-level mark, plan on removing it for that check rather than guessing the level.
Never open a hot pressurized coolant system to work around a decorative part. Follow the vehicle owner’s instructions for checking fluids and allow the engine to cool before working nearby. A dress-up set for the engine that turns a quick inspection into a struggle may be less appealing after the first month.
Dry-fit, then inspect again
With the engine off and cool, set out the supplied pieces and compare them with the parts list. Test-fit each piece as directed before peeling adhesive backing or drilling any approved holes. Verify that it seats on its intended mounts, that hoses and wires are free, and that caps still operate normally. Lower the hood carefully to check clearance according to the accessory instructions; do not slam it onto a part that may interfere.
A kit for dressing up the engine should remain secure after installation. Check that every fastener is secure and no loose item can reach a belt or fan. Reinspect once the car has been driven and allowed to cool: look for movement, rubbing marks, loose clips, discoloration, or an adhesive edge lifting. Stop using the part and consult its maker if you see evidence of contact or heat damage.
A custom-designed engine cover should be judged on fit and finish, not an assumed power increase. If a seller claims a performance gain, ask for evidence for that specific part and vehicle. For a custom engine bay project, choose the piece whose maker can document the fit, mounting, and operating constraints for your actual car.