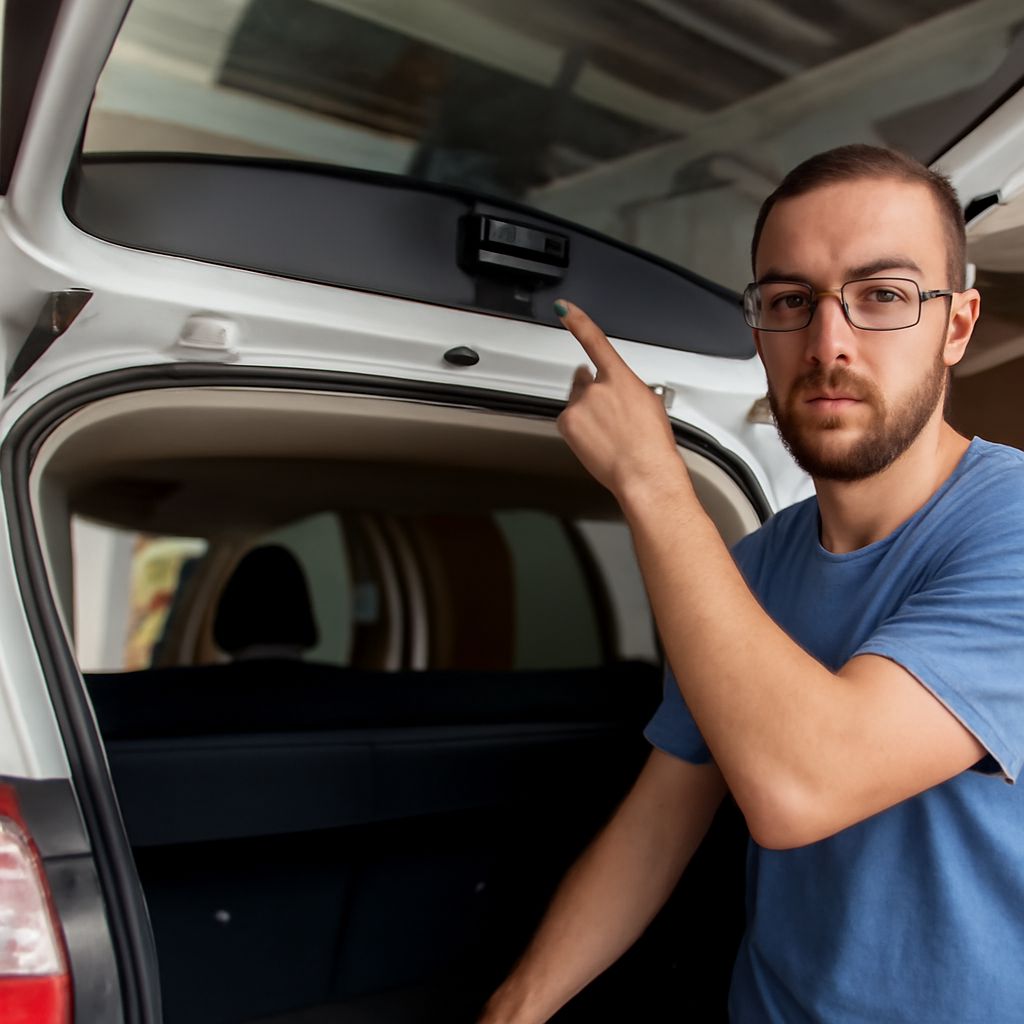
A camera that records the road is little help if its mount blocks your view or its power cable interferes with an airbag. Plan where the device will sit and how it will receive power before attaching it. A few checks now can prevent moving an adhesive mount or paying for wiring that does not support the features you want.
The price of installing a dash cam depends on the camera, vehicle, and work involved. Decide whether you need recording only while driving or also while parked, then ask for an estimate based on that choice. Installation of a dash camera can be as simple as plugging in a supplied adapter or involve professionally routed wiring.
Choose a Position Before You Stick Anything Down
Sit in your normal driving position and identify a spot that leaves the road, mirrors, controls, and warning displays unobstructed. Check the camera manufacturer’s placement instructions and the vehicle manual for the location of sensors, cameras, and airbags. Keep the device and its cable clear of those components and their operating or deployment areas. Garmin’s safety guidance warns against blocking the driver’s view or placing a device in front of or above an airbag.
Check the image before fixing the mount. A live preview can show whether the hood, mirror housing, tint band, or a sensor cover blocks the lens. Aim the camera according to its manual and make sure the area it needs to see is covered by the windshield wipers. For a rear camera, check the view through the rear glass and whether the cable can reach without crossing moving hardware.
Windshield mounting rules differ by jurisdiction. Check the applicable rules where you drive, including restrictions on location and size, before choosing the spot. Also check recording and privacy rules, particularly if audio is enabled or passengers may be recorded. Turn audio off or notify occupants when required by the applicable rules.
Once you are satisfied, follow the device instructions for cleaning, temperature, and adhesive curing. Some mounts are intended for long-term use and are difficult to remove. Test placement first; a clean view in the driveway is easier to correct than a crooked mount after the adhesive has set.
Pick the Power Source for Your Routine
A supplied 12-volt outlet adapter is often the simplest way to install a dash cam. Plug it into a suitable vehicle socket and route the cable so it does not hang near the steering wheel, pedals, or controls. Check whether the outlet switches off with the vehicle: some remain powered after shutdown, while others do not. A switched outlet may suit someone who wants recording only during trips.
Professional hidden wiring can leave the socket free and reduce visible cable. The installer must select a compatible power kit and route it for the specific camera and vehicle. Concealing a cable is not simply a matter of stuffing it under every piece of trim: curtain airbags and their deployment paths require particular care. Ask how the route will avoid them and how removed trim will be secured again.
Parking mode needs its own plan. Depending on the device, it may record impacts, motion, or continuous footage and may require an additional accessory and a power source available after shutdown. For example, Garmin states that its Parking Guard feature requires constant power. Check your own model’s instructions for the trigger, accessory, settings, and expected operation rather than assuming all parking modes work alike.
Continuous power draws from a parked vehicle’s battery. Ask which compatible low-voltage cutoff or other battery protection the camera manufacturer specifies, how it is configured, and what limits apply. A cutoff can shorten the recording period when battery voltage falls; it is not a promise that every battery will remain ready indefinitely. If the vehicle sits for long periods, discuss that usage with the installer before choosing the setup.
Dash Cam Installation Cost: What to Ask the Installer
The dash cam installation cost depends on the agreed scope. Request an itemized quote for the camera and any rear unit, compatible power kit, wiring and trim work, memory card, setup, and applicable taxes. Ask whether the quote includes parking-mode configuration, a demonstration, and any additional work needed for your vehicle. A second channel or a difficult cable route can change labor and parts.
When comparing the cost to install a dash camera, give each shop the same camera model and vehicle details. Ask whether supplied parts are acceptable, who handles a failed accessory, and what workmanship warranty applies. A clear estimate should identify any work that needs a separate approval after inspection.
A dash cam installation service should be able to explain the proposed mount, power source, cable route, and battery protection before work begins. Bring the camera instructions and ask the installer to show you the finished route and settings. The best price for a camera installation is meaningful only when the quotes cover the same work.
Verify the Recording Before You Leave
Use a compatible memory card and format it as the camera maker directs. Set the date, time, and recording preferences. Check the front and rear image if fitted, then record a short test and play it back with sound settings as intended. Confirm that the file is actually saved and that the plate, horizon, and roadway are framed as well as the device allows.
Start and stop the vehicle to check ordinary power behavior. If parking mode is part of the job, ask the installer to demonstrate how it enters that mode and how its battery protection is set. Learn how to retrieve and protect an important clip before you need one, and check the card periodically for recording errors.
A camera that fails to start, reports a card error, or shows a shifted view needs attention before the next trip. Reseat or replace the card according to the manual, adjust a loose mount, or return to the installer to check the power connection and cable route. Review a fresh recording after the fix so you know the device is working again.