A torn boot caught early can sometimes be replaced before the joint it protects suffers damage. That can save you from replacing a complete axle. The decision depends on the condition of the joint, not just the size of the tear in its protective cover.
Replacing the boot on a CV axle starts with finding out how much grease escaped and whether dirt or water got inside. A technician can clean and inspect the joint before recommending a boot-only repair, a joint, or an axle assembly.
Why the Boot Matters
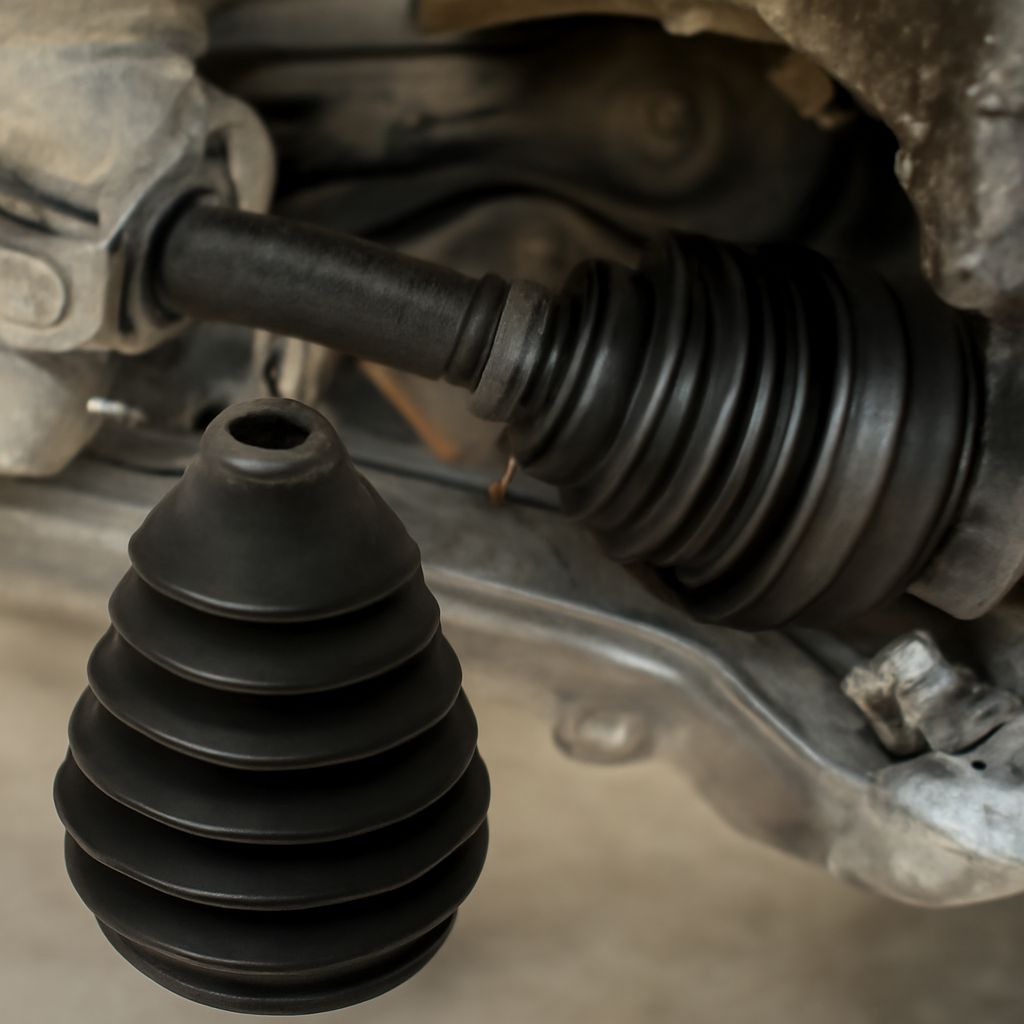
A constant velocity, or CV, joint transfers rotation through an axle while allowing the suspension and steering to move. The flexible cover around it holds special grease in place and keeps road grit and moisture out. Think of it as a sealed lunch bag around a moving mechanism: once the bag splits, the contents can escape and dirt can get in.
A damaged joint cover may leave grease flung onto the inside of a wheel, suspension parts, or the underside of the vehicle. A crack in a fold, a loose clamp, or a visible split deserves attention even if the car still drives normally. MOOG describes grease leakage and contamination as consequences of a boot rupture.
The inner and outer joints have separate covers, and the repair needs to match the affected location. Tell the shop which side you noticed and where the grease appeared, but let it identify the source: another leak can leave a similar mess.
CV Axle Boot Replacement: Decide What Needs Repair
A boot-only repair is a reasonable candidate when the tear was found promptly, the joint still contains grease, and an inspection finds no damaging wear or corrosion. The technician removes contaminated lubricant, examines and cleans the joint according to the service procedure, then packs it with the specified grease and seals it with a new cover and clamps.
A quiet joint is encouraging, but it does not prove that every working surface is healthy. Sand in the grease, evidence of water, rust, scoring, excessive looseness, or an uncertain period without lubrication gives the shop reason to inspect more closely. Depending on the damage and the parts available, replacing the joint or complete axle may be the sounder repair. A new protective cover cannot put worn metal back.
Clicking or popping during turns can point to an outer joint problem; clunks or vibration can have several causes. Describe when the sound or vibration occurs and ask the technician to confirm its source. If the joint is already worn, sealing it with fresh grease will not reverse the wear.
Before authorizing a cv axle boot replacement, ask for two estimates where practical: one for servicing the existing joint and installing a boot, and one for the appropriate axle assembly. Compare parts, labor, and warranty. Replacing an axle boot can require substantial labor to reach the joint, while a complete axle may be faster to install on a particular vehicle. Availability and the condition found during disassembly can change the choice.
Choosing a Boot and Planning Access
A conventional one-piece cover is continuous around the shaft. Installing one generally requires enough disassembly to slide it into position; the exact route depends on the axle and vehicle. Some applications use a suitable stretch boot and installation tool. A split boot wraps around the shaft and closes along a seam, potentially reducing disassembly. Its seam and clamps must be installed exactly as the kit maker specifies.
For either design, confirm the year, model, engine, driven axle, side, and whether the joint is inner or outer. Check the kit maker’s application listing rather than relying on a package labeled universal. A cv joint boot kit intended for the location should provide the correct cover and compatible fastening parts; verify the supplied grease and quantity against its instructions and the vehicle procedure. A repair kit for the CV joint’s boot must fit both the joint housing and shaft so the sealing edges seat correctly.
A split design can be convenient when its manufacturer specifies it for the vehicle and the joint is suitable for reuse. A one-piece design avoids a lengthwise seam but may involve more access work. Compare the installed repair, including the method of sealing and the warranty, rather than choosing on the shape of the cover alone.
Grease, Clamps, and the Work Area
Joint designs can require different lubricants and fill amounts. Use the grease specified for the particular joint and follow the instructions for distributing it between the joint and boot. More grease is not automatically better: the correct amount leaves room for the cover to flex. Keep grit away from the open joint and clean the mating surfaces before fitting the new parts.
The clamps must hold each end securely in its proper groove without cutting the cover. Some bands need a dedicated crimping tool. Confirm that a kit includes the appropriate clamps and that the installer has the tool and tightening instructions. The boot must sit without twisting or rubbing through the axle’s range of motion.
Access may require separating suspension components or removing an axle. That work can call for replacement fasteners, specified tightening values, and care around seals and ABS components. The vehicle’s service procedure determines the sequence. If you plan to do the job yourself, read it first and assess your equipment and experience; support the vehicle properly and never work beneath a car supported only by a jack.
What to Check After the Repair
After cv joint boot replacement, ask what the inspection revealed and which parts were installed. The repair should leave the sealing lips seated, clamps secure, and the surrounding area cleaned so fresh leakage is easy to spot. A shop can also check that the boot has clearance and that disturbed components were reassembled to specification.
After a short period of driving, look for fresh grease around the repaired area. A new spray pattern, a displaced clamp, or a torn fold calls for a return inspection. Clicking on turns or a new vibration also merits diagnosis: the fix may involve resealing a leaking cover or addressing a worn joint, depending on what the inspection finds.