You want the new plugs to seal properly now and come out without damaging the cylinder head later. Whether to put anti-seize on a spark plug depends on the exact plug and engine instructions. A spark plug’s anti-seize treatment can change how it tightens, so decide on the thread condition and torque specification together before reaching for a wrench.
Some mechanics routinely anti seize spark plugs, but that habit may conflict with the specific installation instructions. The advice can sound contradictory: one plug maker may specify clean, dry threads, while another set of instructions may discuss lubricated threads. Both are addressing a real installation condition. The important question is which direction applies to the part in your hand and the engine receiving it.
Spark plug anti seize and the coating already there
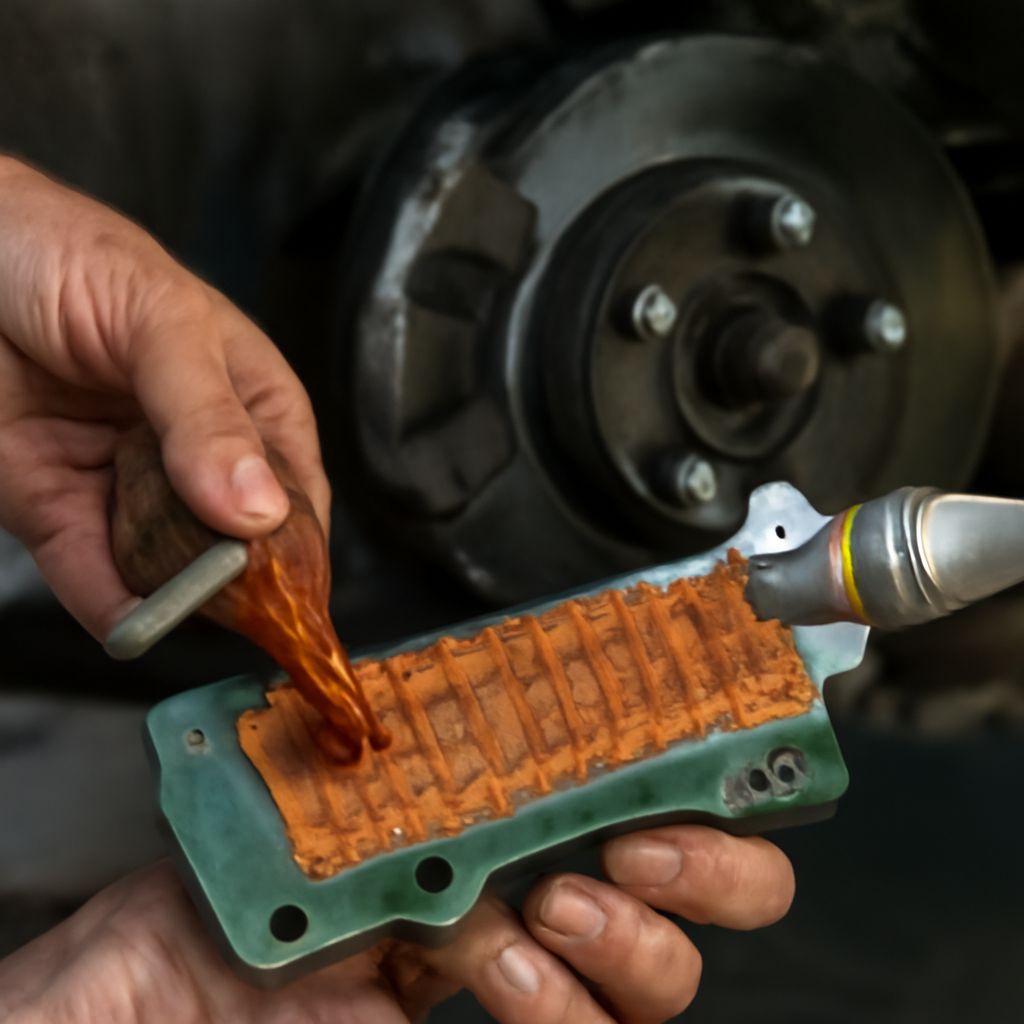
Anti-seize is a compound intended to help threaded parts release after service. A spark plug lives in a hot cylinder head and may stay there for thousands of miles, so the wish to make future removal easier is understandable. But the plug may already have a surface treatment designed for that purpose.
NGK explains that its spark plugs have trivalent plating on the threads. The coating resists corrosion and acts as a release agent during removal. NGK says its plugs are installed dry and advises against using anti-seize or lubricant on them. That is a manufacturer’s instruction for its product, not proof that every plug from every maker has identical plating or installation requirements.
A shiny thread is not a substitute for identifying the part. Check the plug’s part number, packaging, and current installation guidance. Then check the vehicle or engine service information for the specified plug, installation conditions, and tightening value. If a supplier offers anti seize for spark plugs, the product’s label alone cannot establish that it belongs on your particular plug.
Why lubrication changes the tightening calculation
A torque wrench measures the twisting force applied to the plug. Some of that force is spent overcoming friction in the threads and at the seat; the rest contributes to clamping the plug in place. Change the friction and the same wrench reading can produce a different clamping load. Think of torque as an instruction with conditions attached, not a magic number that works equally well on every surface.
NGK warns that anti seize on spark plugs can act as a lubricant and alter the torque relationship, increasing the risk of thread breakage or stretching the metal shell. Its installation guidance also explains the other side of the problem: insufficient tightening can prevent good seating and slow heat transfer from the plug to the head. Excessive tightening can damage threads, seals, or the plug itself.
DENSO’s installation page states that its displayed torque values apply to new plugs with unlubricated threads and separately discusses lubricated threads. That distinction illustrates why the thread condition belongs beside the number. It is not permission to transfer a correction from one manufacturer’s general table to a different plug or engine. Use the complete specification applicable to your installation; do not invent a percentage reduction.
Resolve two instructions before installation
Start by confirming that the exact replacement part is approved for the engine. Record the vehicle year, make, model, engine, and plug part number. A service bulletin or updated instruction for that application may add context that an older generic chart does not provide.
Compare the two documents in detail:
- Plug instructions: Do they specify dry threads, a coating, or an approved compound? Do they address new plugs or reused ones?
- Engine service information: Does the torque value specify a thread condition, part number, seat type, or other installation detail?
- Scope: Is one statement general while the other expressly covers your engine and plug? Are both documents current and applicable to the same component?
For example, a generic instruction to use compound on threaded parts and an NGK instruction to install its plug dry do not describe the same level of detail. Before applying either advice, check the engine-specific procedure and confirm the exact part. If the vehicle document explicitly calls for compound but the plug instructions say dry, stop and obtain clarification for that combination. Do not average the two recommendations or select whichever sounds more cautious.
Prepare for a sound installation
Once the instructions agree, assemble the correct plug socket and a torque wrench suitable for the specified range. Check whether the specification is in pound-feet or inch-pounds; confusing the units is a very expensive way to learn arithmetic. Follow the manufacturer’s directions for engine temperature, access, and cleaning.
NGK says to work on a cool engine and keep the plug holes clean. Dirt in the threads can create resistance and produce a torque reading before the plug is properly seated. Keep debris from falling into the cylinder as you work, and follow the engine service procedure for cleaning the area. Do not force a plug that starts crooked or binds: stop and have the threads assessed.
Install using the specified thread condition and tightening method. A dry instruction means leaving the threads free of added lubricant, not leaving them covered in dirt. If the procedure calls for a compound, use only the type and application method it specifies, keeping it away from areas the instructions prohibit. Do not substitute grease for spark plug anti seize or apply material to electrical contacts simply because both products come in small tubes.
Before you finish
If the applicable documents agree, use their specified thread condition and torque, and keep the part number and service information with your maintenance records. That gives the next person a useful account of what went into the engine.
If they conflict, leave the plug uninstalled and contact the engine or vehicle manufacturer’s technical service and the plug maker with the exact part number, engine details, and both instructions. Ask them to confirm the thread treatment and matching torque for that combination. Install only after you have an answer that resolves both parts of the instruction.