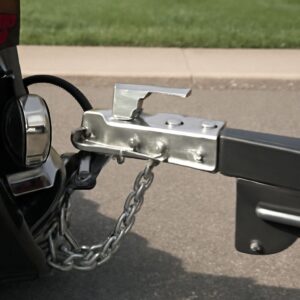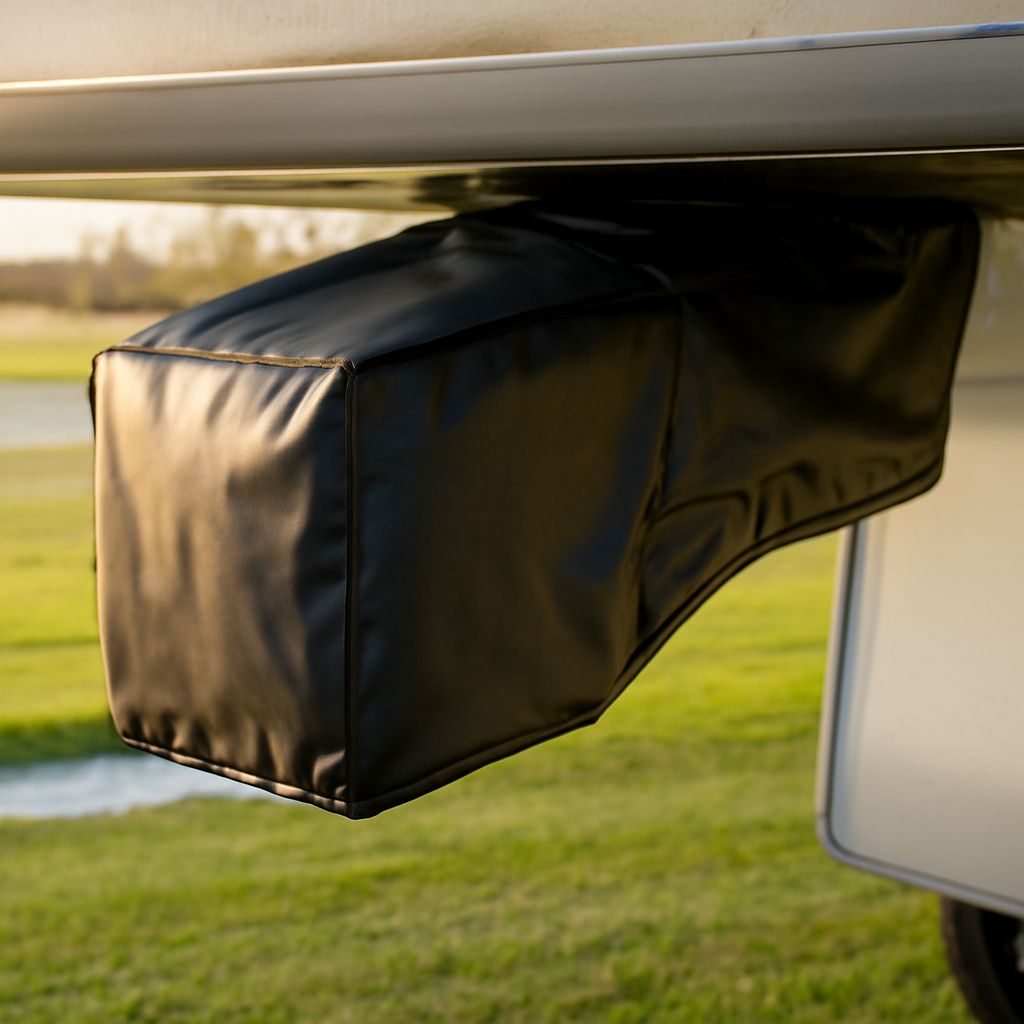
An empty receiver can collect road grime, but a plug that looks right online may rattle, stick or fall out. To choose a cover for your trailer hitch, measure the opening, check how the product stays in place and compare its shape with the space behind your vehicle.
Covers for trailer hitches range from simple friction-fit plugs to decorative pieces held by a pin. Both can close an unused opening; the right choice depends on your receiver and how often you need access to it.
Measure the opening, not the outside
The receiver is the square tube that accepts a ball mount or other compatible hitch accessory. Its size refers to the inside opening. With the vehicle parked and the receiver empty, measure the inside width and height of the square, rather than the outside of the tube or the face of an existing plug. A ruler or tape measure placed across the opening gives you the dimensions to compare with the product listing.
Common receiver sizes include 1¼ inches and 2 inches, but larger sizes exist. Check the hitch label or documentation as well as your measurement. Do not infer size from the vehicle model alone: a vehicle may have a different factory or aftermarket hitch from another one that looks identical.
The cover’s advertised size should match the receiver opening. For example, CURT specifies its 22272 rubber plug for a 2-by-2-inch receiver. A 2-inch listing identifies the opening it is meant to fit, not the outside width of the decorative face. If your measurement falls between nominal sizes or the opening has an unusual shape, confirm the fit with the hitch and cover manufacturers before ordering.
Trailer hitch covers and how they stay in place
A friction-fit trailer hitch cover pushes into the tube and relies on contact with its interior to stay put. It is quick to remove when you want to use the receiver and usually needs no separate fastener. CURT describes its 22272 model as a friction fit that does not require a pin or clip. Follow the instructions for your particular part: a loose plug can work its way out, while one forced into the wrong opening may be difficult to remove.
Other trailer hitch covers have a shank with a hole that aligns with the receiver’s pin hole. A compatible pin and clip or lock holds the cover in place. Check whether that hardware is included, what size the cover requires and whether the hole positions line up when the face is seated. A lock can make casual removal harder; it also means you need the key when it is time to use the hitch.
A tow hitch cover may use a tether or another retention feature specified by its maker. Check that the tether can be attached as directed and will not drag on the road. Do not drill the receiver, wedge in scraps or improvise a fastener to rescue a poor fit. Choose a product designed for the receiver instead.
Compare the face and the shank
Two tow hitch covers can fit the same square opening yet have very different faces. A flat rubber cap may sit close to the receiver; a logo plate or shaped ornament can extend beyond it. Look at the dimensions of the face, the length of the insert and any projection behind the vehicle. Check clearance around the bumper, spare tire, trim and anything else near the receiver.
A larger design can be attractive but may be more exposed to contact when you walk behind the vehicle or park near an obstacle. It can also obstruct access to a nearby electrical connector. Some products have a dedicated connector holder; check the connector type and instructions before relying on that feature. Make sure the finished installation does not cover the license plate, lights or other required equipment.
Listings for covers for trailer hitch receivers may call these products trailer hitch inserts, plugs or caps. The words alone do not establish how a particular item mounts. Read the fit and retention details, look for a dimensioned drawing when available and check the seller’s return policy if the layout around your receiver is tight.
Materials and everyday use
A rubber or flexible plastic trailer hitch cap can be easy to handle and may give slightly as it enters the tube. A rigid plastic or metal face may offer a different appearance and fastening method. The material does not tell you everything about retention: check the actual mounting design and its instructions.
Consider the conditions in which you drive. Road salt, mud, sun and repeated removal can affect finishes and flexible parts over time. Inspect the cover occasionally for cracks, looseness, damaged clips or a tether that has worn through. Clean it with the method recommended by the manufacturer and let the receiver opening dry as appropriate before reinstalling it.
A trailer hitch receiver cover helps keep debris out of the opening when the hitch is unused. It is not a watertight seal for the entire assembly, and it cannot reverse corrosion already present. When you remove it, look inside for accumulated dirt or visible rust. Follow the hitch manufacturer’s care guidance, and have significant corrosion or damage assessed before towing.
Remove it before using the receiver
A plug protects or decorates the opening; it does not increase the hitch’s towing or tongue-weight rating. Before towing, remove the cover and install the specified ball mount and correctly rated pin or lock according to the hitch and accessory instructions. Keep the plug and any small hardware somewhere you can find them again.
After use, remove the towing accessory as appropriate, inspect the opening and reinstall the cover according to its instructions. A friction plug should seat as intended; a pinned design needs its specified fastener fully secured. Give it a gentle check for movement and revisit the fit if it rattles or works loose.
Choose a cover for your tow hitch by the measured receiver opening, the manufacturer’s stated fit, secure retention and the clearance available on your vehicle. A suitable trailer-hitch plug should stay in place during ordinary use and come off when you need the receiver.