Chipped paint on car surfaces is more than a cosmetic issue. Once the clear coat and color coat are breached, bare metal is exposed to moisture and oxygen—the two elements that accelerate rust formation. The sooner an owner acts to fix paint chips on car panels, the less likely the damage is to spread. Paint chips on car doors, hoods, and bumpers are common because these areas face the most road debris impact during normal driving.
The process of how to touch up car paint chips depends on the depth and size of the chip. Most shallow chips can be addressed at home with careful preparation, the right products, and patience. Fixing chipped paint on car surfaces correctly prevents the need for professional panel refinishing, which can cost hundreds per panel.
Assessing the Damage Before Starting
Shallow vs Deep Chips
Shallow chips affect only the clear coat or top color coat, while deep chips penetrate to primer or bare metal. Chips that reveal shiny metal at the center require the most thorough treatment because rust can develop within days in humid conditions. Run a finger gently over the chip—if the edges are raised, they need to be leveled before any touch-up paint is applied to achieve an invisible repair when fixing chipped paint on car panels.
Identifying the Correct Paint Code
Every vehicle has a factory paint code printed on a placard inside the door jamb or under the hood. This code identifies the exact color and finish used at the factory and is essential for matching touch-up paint. Mismatched paint on chipped paint on car areas stands out more than the original chip, so verifying the code before purchasing product is a critical first step.
How to Fix Paint Chips on Car Panels Step by Step
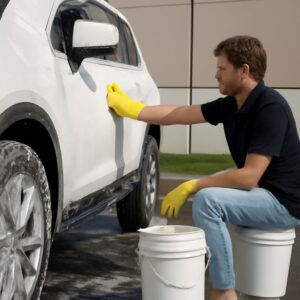
Surface Preparation Clean the damaged area with isopropyl alcohol to remove wax, oils, and road contamination. For chips that have already begun to rust, remove the rust with a small amount of rust remover applied with a cotton swab before proceeding. Allow the area to dry completely. Lightly sand the edges of the chip with 2000-grit sandpaper to smooth any raised edges that could prevent the touch-up coat from bonding flush with the surrounding paint. Wipe away sanding dust with a clean, dry microfiber cloth.
Applying Touch-Up Paint
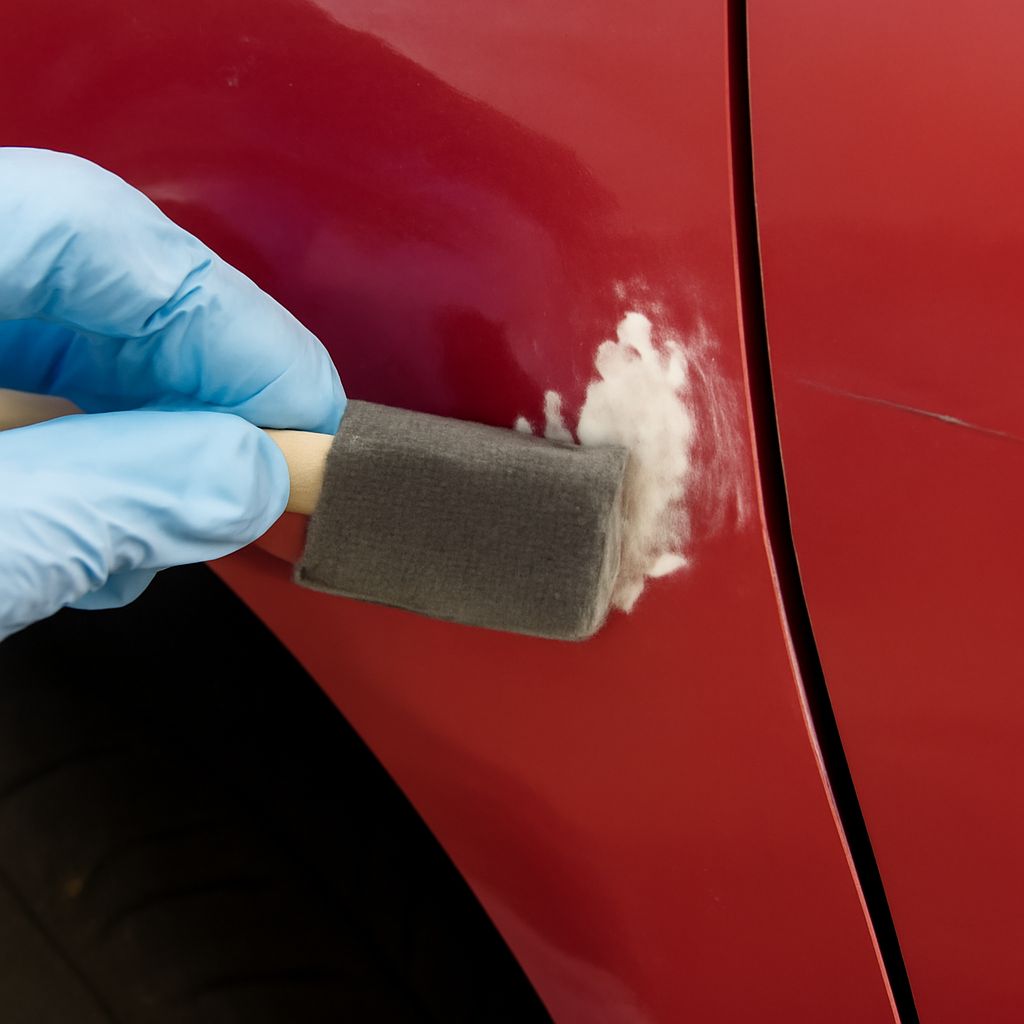
Apply touch-up paint in thin layers using the brush supplied with the product or a fine artist’s brush. To fix paint chips on car panels effectively, build up the color in two to three thin applications rather than one thick coat. Allow each layer to dry for 30 minutes before applying the next. Once the color coat reaches the level of the surrounding paint, apply a thin clear coat layer over the repair area and extend it slightly onto the adjacent factory clear coat to blend the edges.
How to Touch Up Car Paint Chips for an Invisible Finish
Achieving a near-invisible finish when addressing how to touch up car paint chips requires wet sanding and polishing after the touch-up paint has fully cured—typically 48 to 72 hours. Use 2000-grit wet sandpaper to level the repair, then follow with 3000-grit to refine the surface. Finish with a dual-action polisher and a fine-cut compound to restore gloss. How to touch up car paint chips on matte or satin finishes requires different products—matte-specific touch-up paint and no clear coat gloss finish—so always confirm the vehicle’s finish type before purchasing supplies.
Preventing Future Paint Damage
Paint chips on car hoods and front bumpers can be significantly reduced with paint protection film applied to high-impact zones. Clear bra film, as it is commonly called, absorbs rock strike energy before it reaches the factory paint. Ceramic coatings add a layer of hardness above the clear coat that resists light chips and stone impacts better than bare paint. Addressing paint chips on car surfaces promptly and maintaining a protective layer above the paint are the two most effective strategies for keeping the vehicle’s finish intact over its lifetime.