A dead battery at the wrong moment is one of the most common vehicle problems drivers encounter. Knowing how to use a car battery charger correctly can save time, money, and the frustration of waiting for roadside assistance. The process of how to use car battery charger equipment is straightforward when done in sequence, but skipping steps creates risk. Whether the goal is how to charge car battery with charger equipment at home or how to charge a car battery with a battery charger in a pinch, the fundamentals stay the same. Using a car battery charger safely starts with understanding what type of battery and charger are involved.
Types of Car Battery Chargers
Chargers fall into three broad categories. Trickle chargers deliver a low, steady current over many hours and are well-suited for maintenance charging on stored vehicles. Standard chargers offer selectable amp settings — typically 2A for slow charging and 10A for faster recovery. Smart or automatic chargers detect battery condition and adjust output automatically, switching to a maintenance mode once the battery reaches full capacity. Matching the charger type to the battery chemistry (flooded lead-acid, AGM, or gel) matters; using a standard charger on an AGM battery at full amperage can shorten battery life significantly.
Safety Checks Before You Start
Before learning how to use car battery charger equipment, check that the battery case shows no cracks, bulging, or leaking electrolyte. Batteries that are physically damaged should be replaced, not charged. Work in a ventilated area — charging produces hydrogen gas in small amounts. Remove any metal jewelry and keep open flames away. If the battery is still in the vehicle, check the owner’s manual; some manufacturers recommend disconnecting the negative cable first to protect sensitive electronics. Confirm the charger is unplugged from the wall before making any connections.
Connecting the Charger Correctly
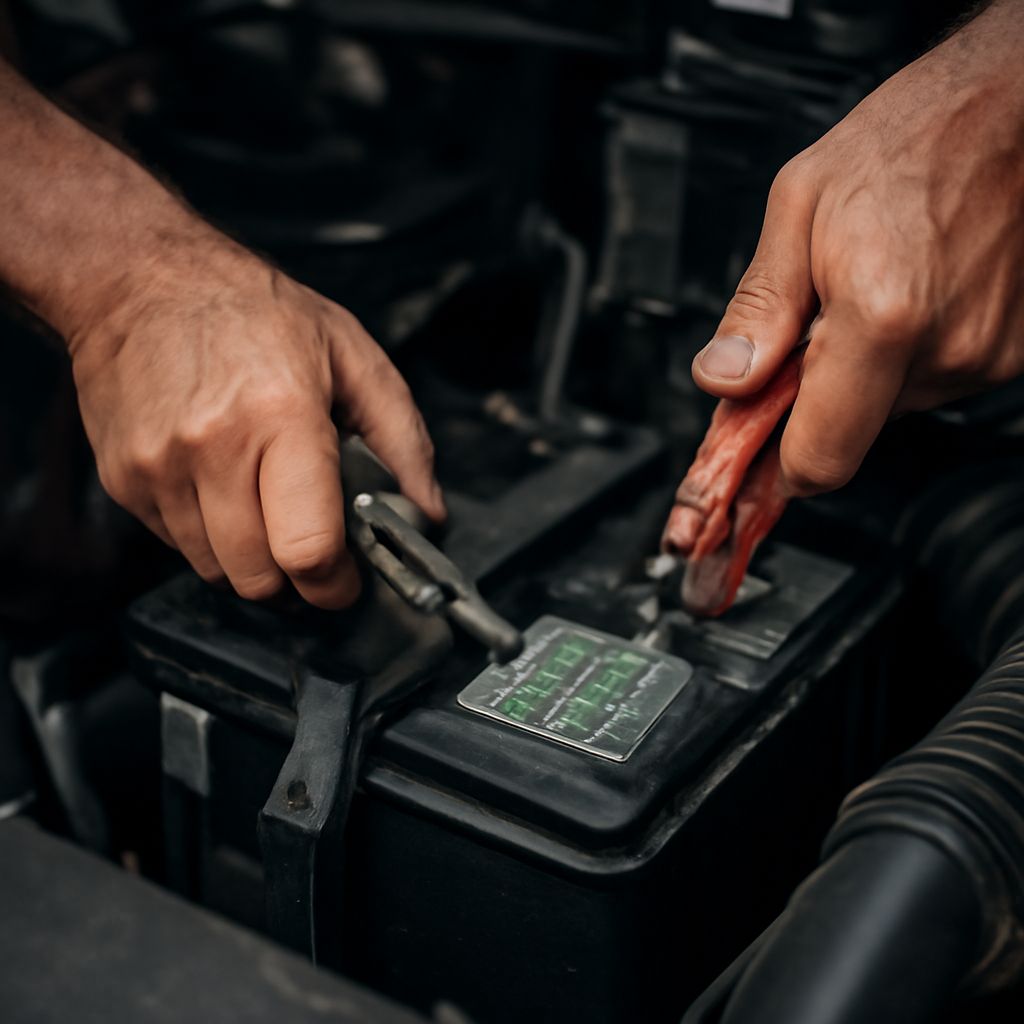
The correct sequence for how to charge car battery with charger cables is: red clamp to the positive terminal, black clamp to the negative terminal. If charging in-vehicle, connect the black clamp to an unpainted metal ground point on the chassis rather than directly to the negative post — this reduces spark risk near the battery. Double-check that the clamps are secure and not touching each other or any other metal surface. Only after connections are confirmed should the charger be plugged in and powered on.
Setting Amperage and Monitoring the Charge
For a standard deeply discharged battery, start at the lower amperage setting (2–6A) for an overnight charge rather than pushing maximum output. Fast charging at 10A or higher generates more heat and is appropriate for a quick recovery before driving, not for regular use. Smart chargers handle this automatically. The process of how to charge a car battery with a battery charger becomes easier with a smart unit because the charger signals when the battery is fully charged. Manual chargers require periodic voltage checks with a multimeter — 12.6V or higher indicates a full charge on a 12V lead-acid battery.
Disconnecting Safely
When using a car battery charger and the charge cycle is complete, power off and unplug the charger before removing any clamps. Remove the black clamp first, then the red. This sequence prevents accidental short circuits. After disconnecting, allow the battery to rest for 15 minutes before starting the vehicle, giving surface charge time to dissipate for an accurate voltage reading. Test the battery under load if possible before returning the vehicle to normal service.
Pro tips recap: Always match charger type to battery chemistry, connect red before black and disconnect black before red, and never charge a physically damaged battery. A smart charger removes guesswork and protects battery health over the long term.