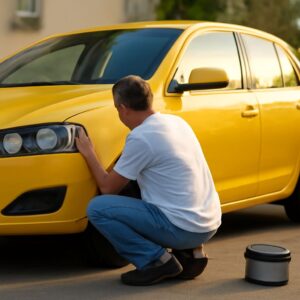
How to Touch Up Paint on a Car: A Step-by-Step Repair Guide
Small chips and scratches are inevitable on any vehicle, but they become serious problems when left untreated. Understanding how to touch up paint on a car is the skill that stops a minor surface defect from becoming a rust spot that spreads under the clear coat. The process of how to touch up paint on car surfaces involves color matching, careful preparation, controlled application, and blending. Whether using a brush bottle or a paint pen, mastering how to touch up paint car repairs at home saves $50–$300 per chip versus shop rates. The key to success in how to use touch up paint on car finishes is patience — rushing any step produces a visible repair that draws more attention than the original damage. A careful approach to how to apply touch up paint to a car produces results that are nearly invisible in normal lighting.
Gathering Supplies and Matching the Paint Color
The correct color is the foundation of any successful touch-up. Using a slightly wrong shade produces a repair more visible than the original chip. All vehicle manufacturers assign a specific paint code that corresponds to the factory color mixed for that vehicle’s production run.
Finding the Correct Color Code
The paint code is printed on the vehicle identification label located on the driver-side door jamb. It may be listed as “Color,” “Paint,” or “Ext. Color” followed by a three-to-six character alphanumeric code. On European vehicles, the code sometimes appears in the trunk or engine bay instead. With the code confirmed, touch-up paint in the exact factory formulation can be ordered from the dealer parts counter or online paint suppliers that bottle to order using the code as the reference.
Choosing the Right Product Format
Touch-up paint is sold in three formats: brush applicator bottles (similar to nail polish), paint pens, and aerosol cans. Brush bottles work best for chips smaller than a pencil eraser. Pens suit fine scratches that need precise, controlled application. Aerosol cans are used for larger areas but require masking and produce overspray on surrounding panels. Select the format based on the size and type of damage before purchasing.
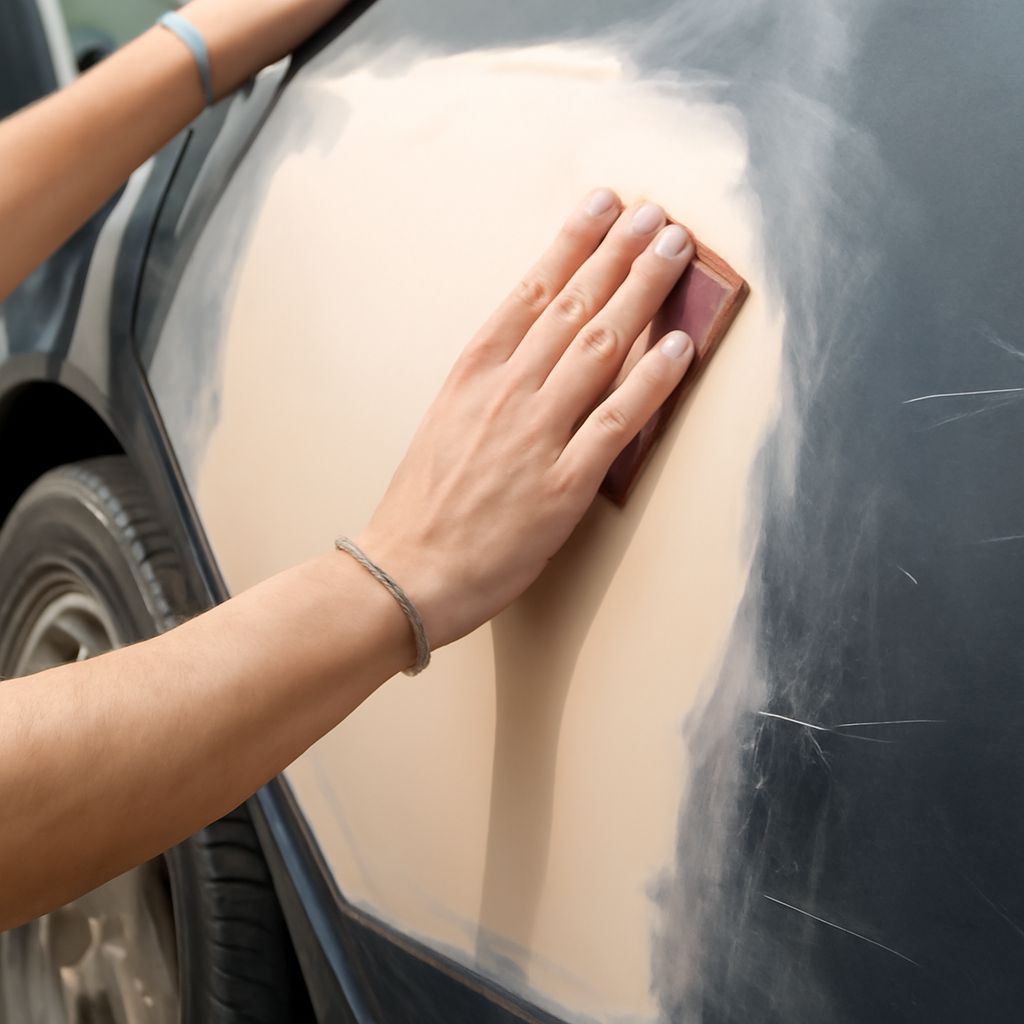
Surface Preparation Before Painting
Understanding how to touch up paint on a car starts with recognizing that paint will not bond to a dirty or oily surface. Clean the damaged area thoroughly with a wax and grease remover applied with a lint-free cloth. If the chip has exposed bare metal and rust is already forming — visible as a reddish or orange tint — treat with a metal conditioner or rust converter before proceeding. Allow to dry completely, typically 30 minutes at 70°F.
Lightly sand any raised edges around the chip with 1500-grit wet-dry sandpaper folded to a small point. The goal is to level the surrounding clear coat edge so the new paint has a smooth surface to bond to. Wipe away all sanding residue before opening any paint product.
Applying Touch Up Paint Correctly
Temperature affects how to touch up paint car repairs significantly. Apply between 60°F and 80°F in shade or indoors. Cold temperatures cause paint to thicken and dry too slowly; direct sun causes it to skin over before leveling properly. Shake or stir the touch-up product according to its instructions — typically 30–60 seconds — before the first application.
Brush Applicator Technique
Load the brush minimally — excess paint causes runs. Apply one thin layer directly into the chip using a dabbing motion rather than brushing strokes. Allow each layer to dry for 30–60 minutes before adding the next. Two to four thin layers build up color gradually and bond more durably than a single thick application. This is the core technique for how to use touch up paint on car surfaces without creating a lumpy, obvious repair.
Pen Applicator Technique
Shake the pen before use, then tip it on a piece of cardboard to prime the tip. Apply with the tip touching the scratch lightly — moving too fast produces skips; pressing too hard deposits excess paint. Paint pens excel at fine linear scratches where a brush would deposit too wide a stroke. Allow full drying time between passes.
Finishing and Blending the Repair
Once the color layers are dry and level with the surrounding surface, apply a thin clear coat layer over the repair. Professional clear coat in a brush bottle is available from touch-up paint suppliers and protects the color from UV fade and weathering. Allow 24 hours before any water exposure.
After the clear coat cures (48–72 hours), use a plastic finishing compound applied with a microfiber cloth to blend the edges of the repair into the surrounding panel. This step is the difference between a visible patch and a nearly seamless repair when practicing how to apply touch up paint to a car at the amateur level.
Key takeaways: Correct color code matching, thorough surface prep, and thin multiple layers are the three principles that define successful touch-up paint work. Allow adequate drying time between every step. A finished repair protected with clear coat and lightly compounded blends into the surrounding paint in 20–30 minutes of careful work.